Harvesting and fertilizing apples, pears and plums

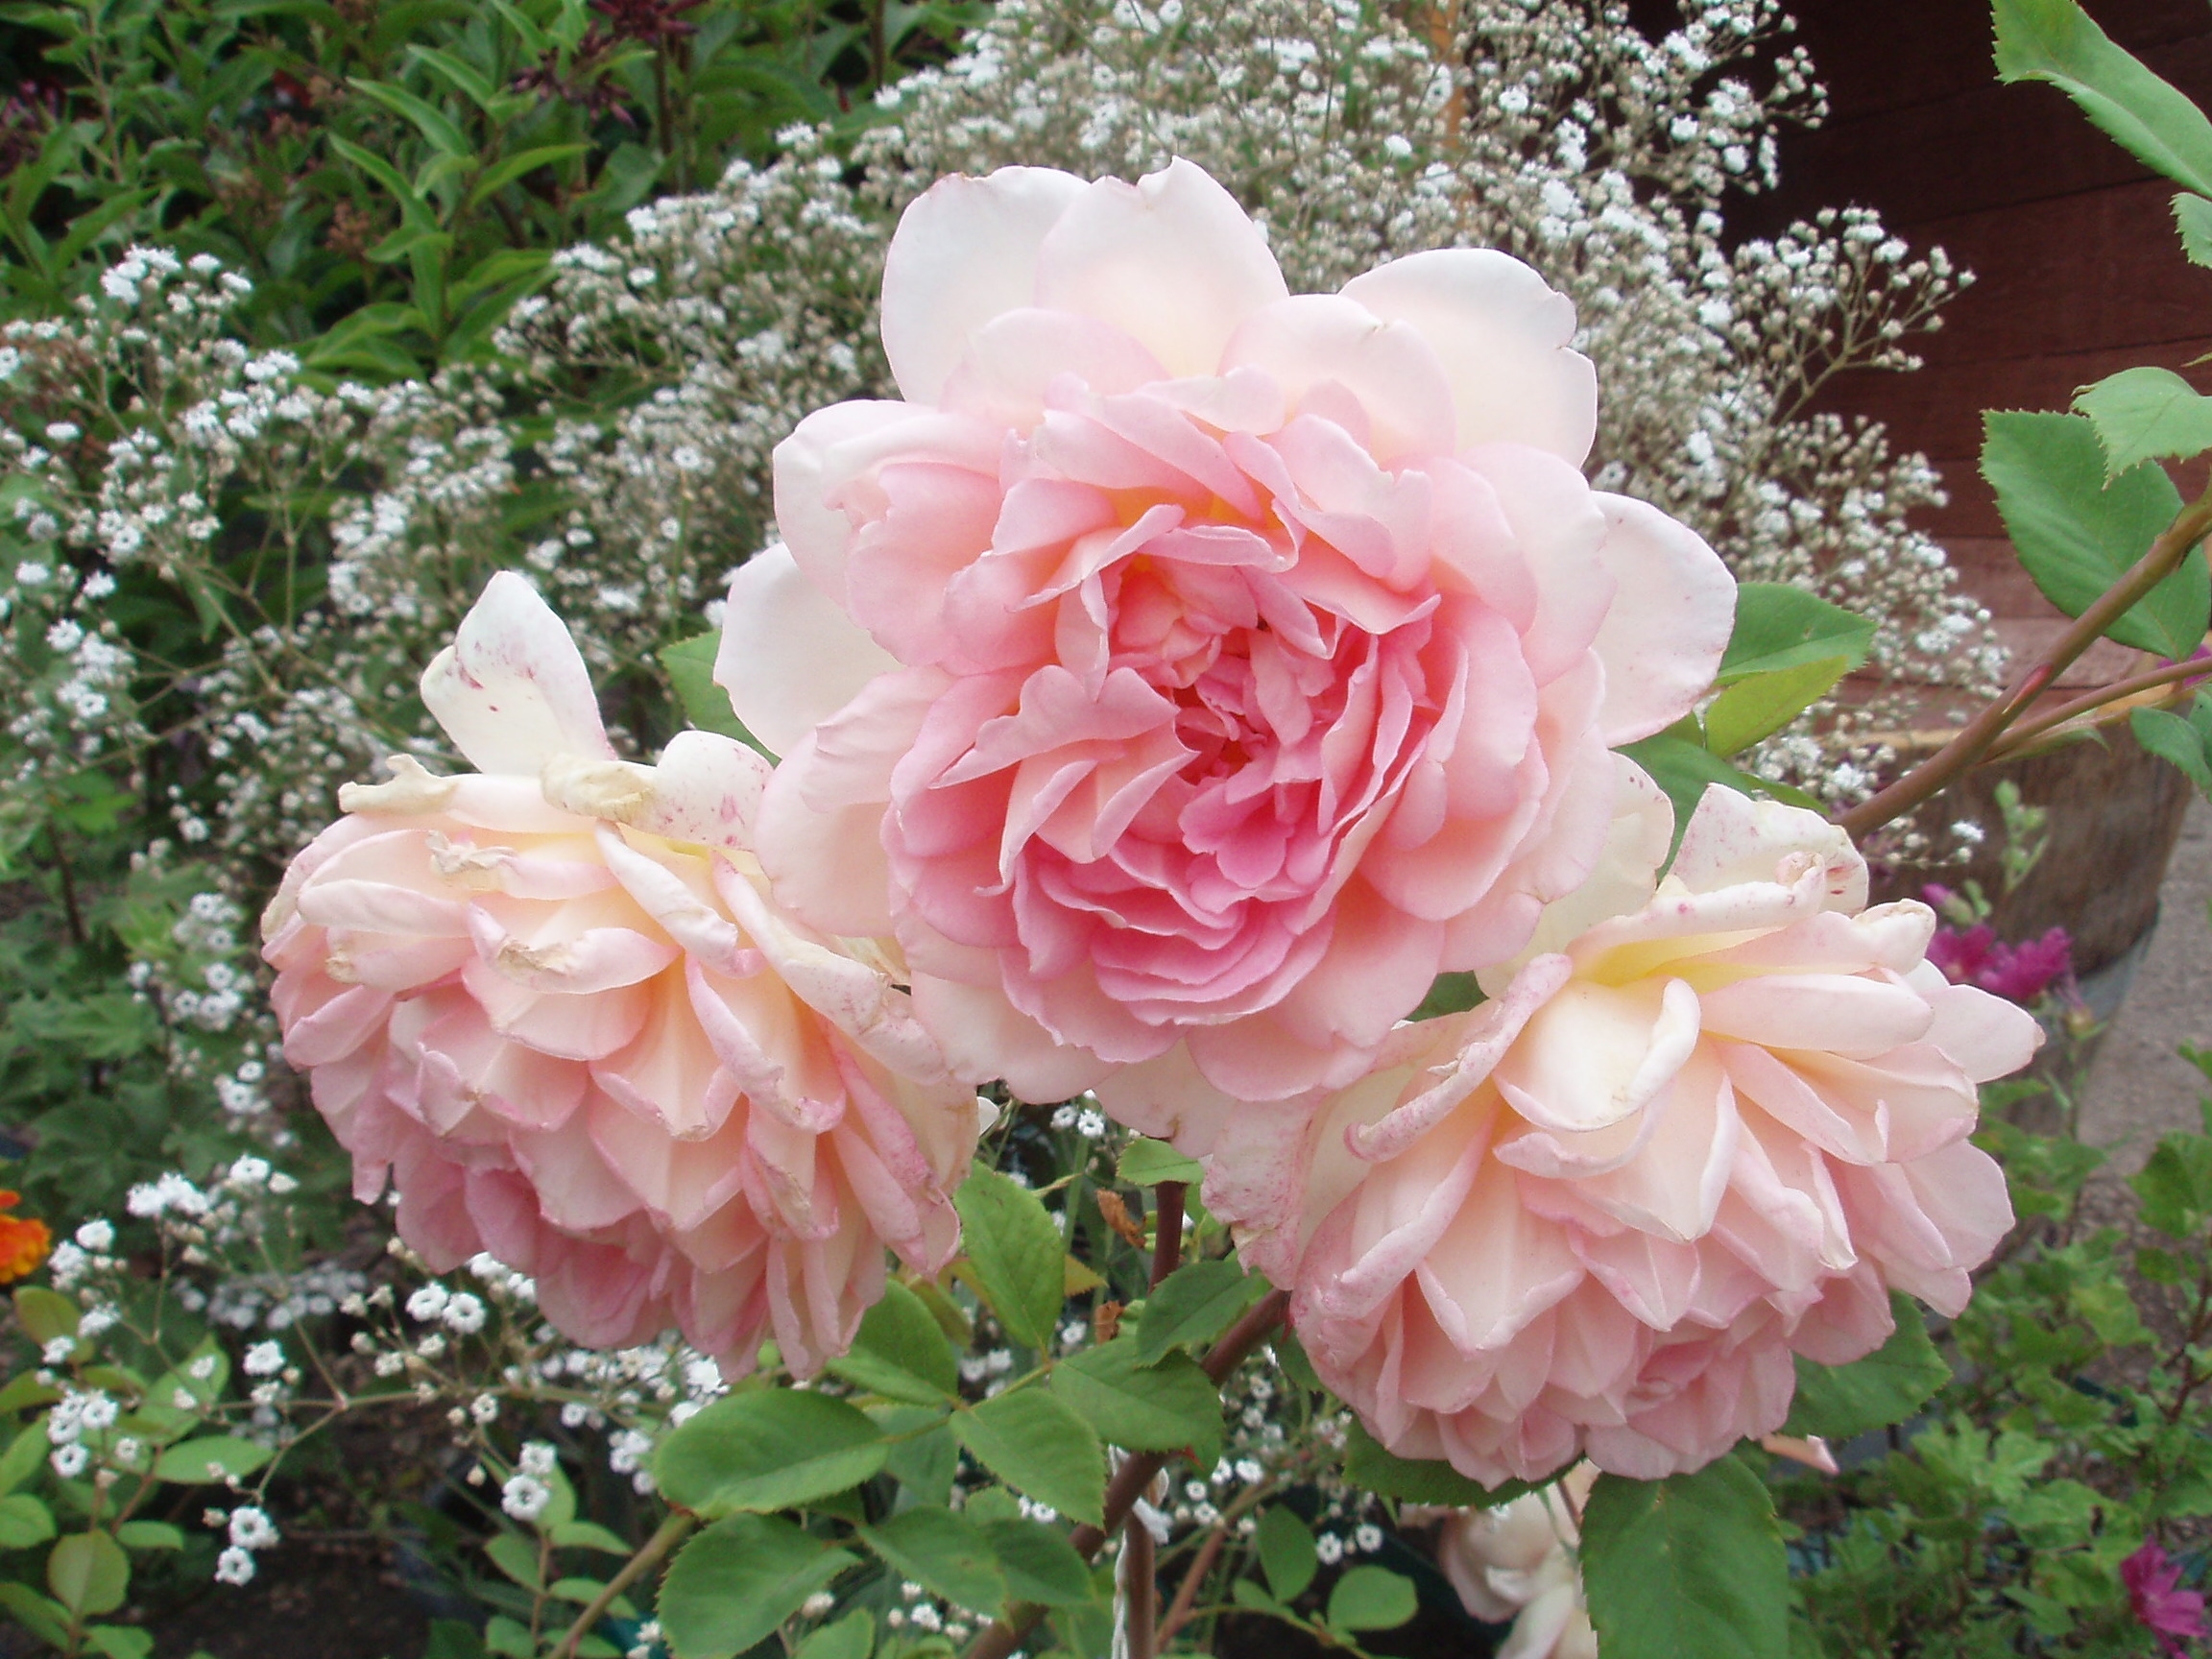
Time to take a break from heavy gardening tasks and enjoy the fruits of your labor.  Check vegetable gardens daily for ripe produce to be sure you are harvesting them at their peak.  Keep faded flowers picked regularly to prolong bloom.  Inspect fruit trees for luscious ripening fruit to be picked at just the right time.

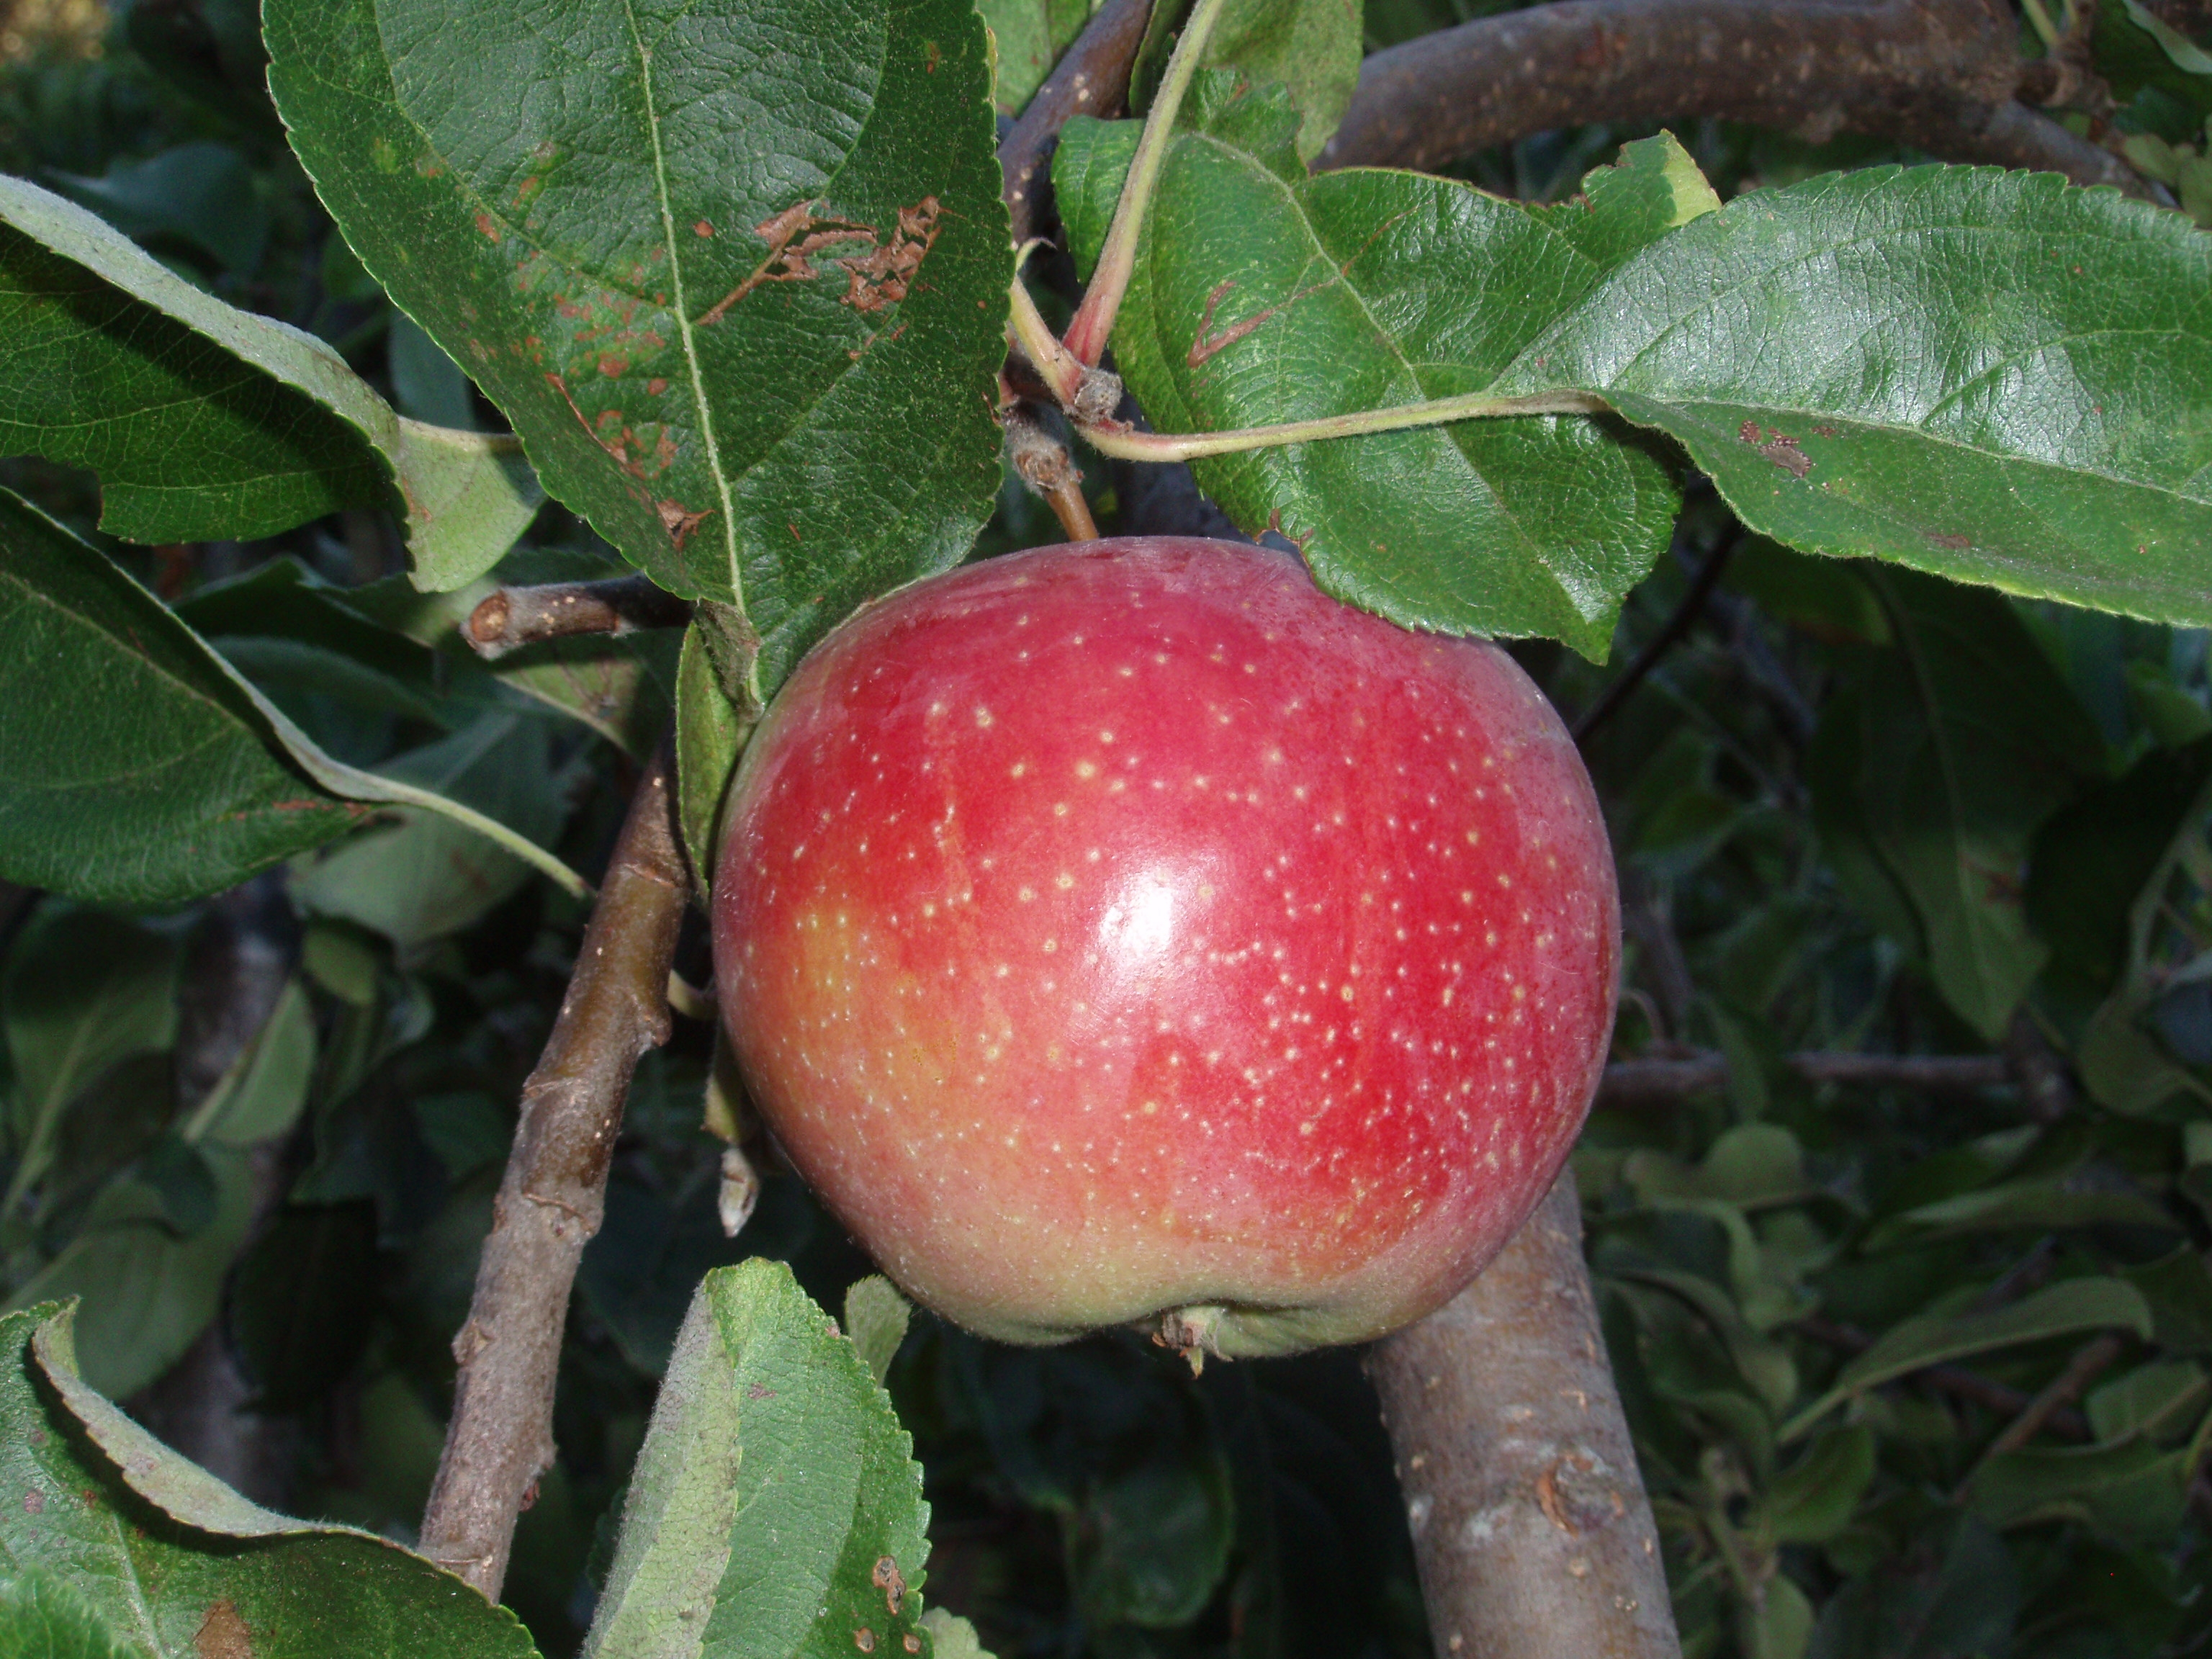
How do you know when fruit or nuts are ready to harvest?  It’s not as easy as picking zucchini or tomatoes.  Take apples, for instance.  Apples approaching maturity may be broken off easily from the spur.  Do not pull an apple downward or you may damage the spur.  Twist it upward with a rotating motion.  When a few non-wormy apples fall to the ground, this is a sign that fruit is nearly ripe.  Check inside.  Apples are ripe when their seeds turn dark brown to black.  If you prefer tart apples, harvest them a little earlier.

 What about that plum tree loaded with fruit?  For best quality, plums should remain on the tree until firm-ripe.  This stage is often very difficult to determine.  The best guide to ripening is to watch for softening fruit that is fully colored.  When they are ripe, the plum stem will easily separate from the spur or branch when the fruit is gently lifted.  Early maturing  varieties like Santa Rosa should be picked 2-3 times per season taking the ripest at each harvest.  Late maturing varieties like Golden Nectar can be picked all at one time or at two pickings spaced about a week or ten days apart.  Burgundy plums have the best of both worlds.  Ripening in early July, the fruit holds well on the tree until mid-August and can be picked over a long period before it drops to the ground and is lost.

 
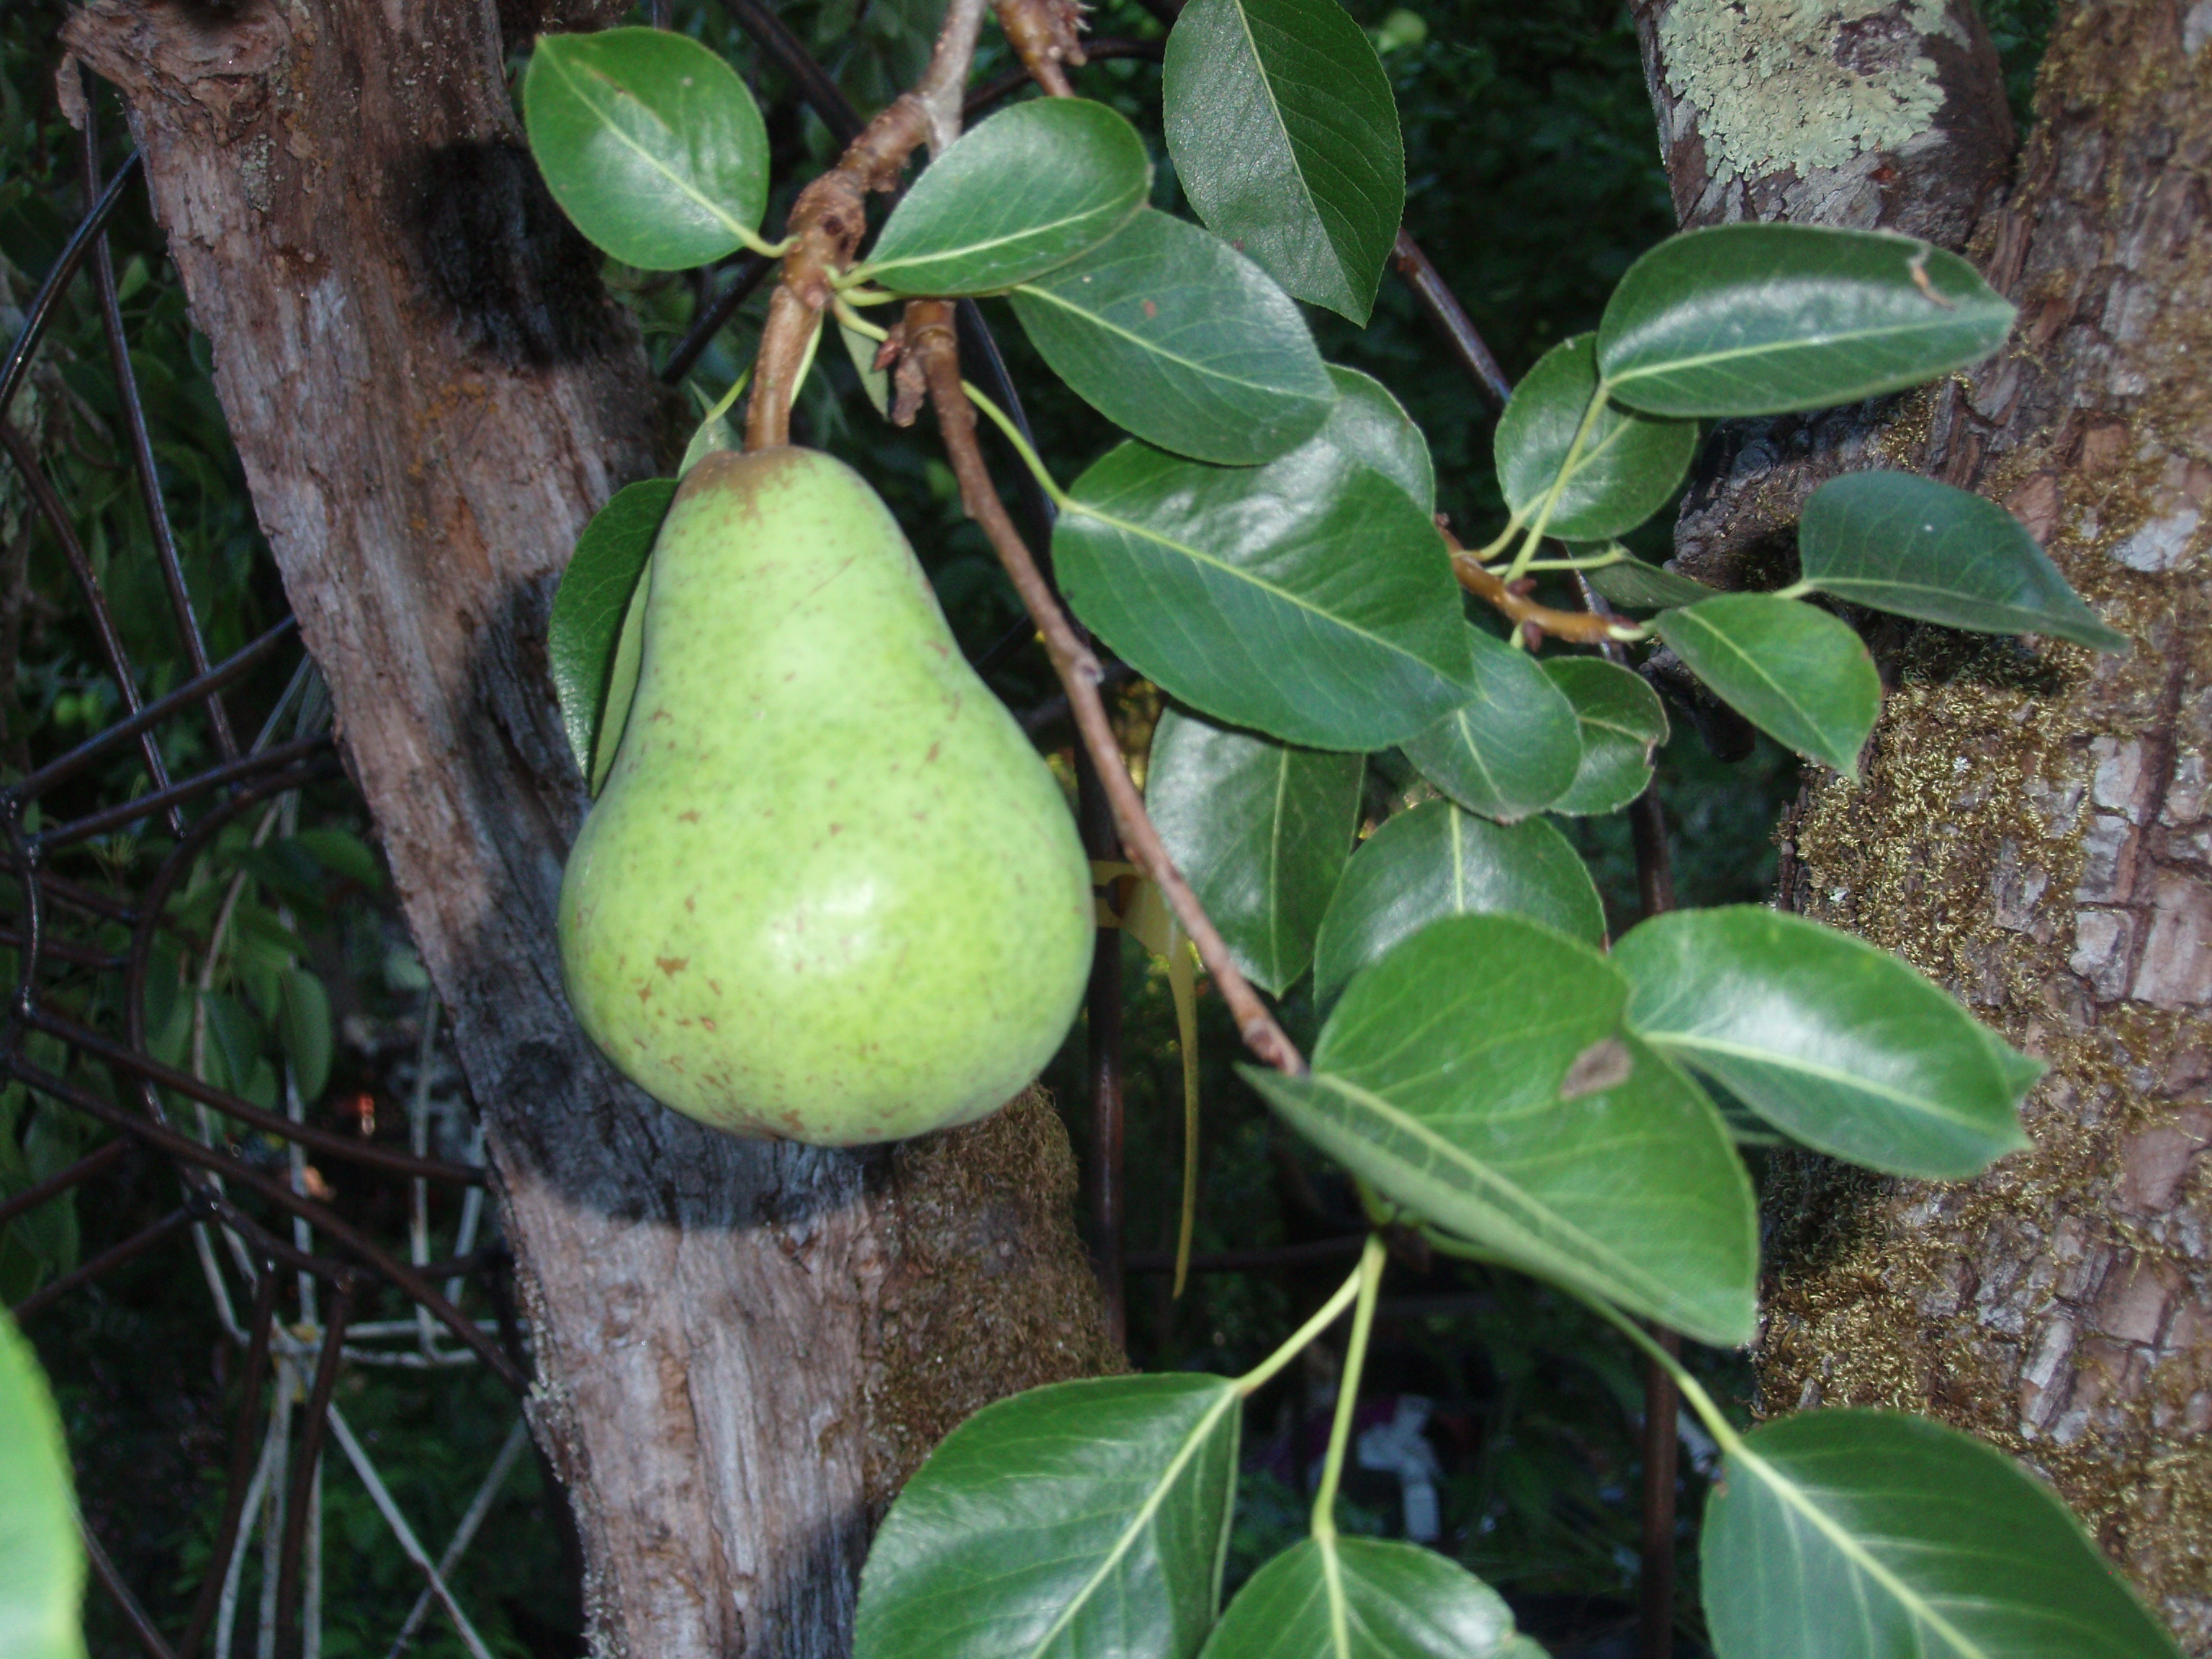
    Pears are unlike most other fruit.  They are best when ripened off the tree.  Pick fruit when they have reached mature size and are just starting to lose their green color.  Don’t let them soften or turn entirely yellow before harvesting.  Bartlett pears are usually harvested sometime in August.    This variety ripens on its own without cold storage.  Buerre d’Anjou , Bosc,  Comice,  Monterrey and other varieties are usually harvested in September or October, placed in a plastic bag and refrigerated for at least 2 weeks, then brought out to ripen at room temperature.  To harvest pears, lift up fruit until the stem separates from the spur; do not pull or twist.  If the stem does not break easily from the spur, allow fruit to ripen for a few more days.
 
    Each fruit and nut has an optimum harvesting time.  If you are unsure about your tree, email me and I can tell you about yours.  
    
    After harvesting, fertilize your trees one last time with an organic fertilizer formulated specifically for fruit trees.  All that fruit takes energy to produce.  Plants make their own food by photosynthesis, recombining carbon, oxygen and hydrogen atoms from water and air with energy from sunlight.  They also need small amounts of other elements, such as nitrogen, phosphorus and potassium, just as we need certain vitamins and minerals in addition to protein and carbohydrates.  Feed your soil with compost and organics like blood meal, feather meal, bone meal, chicken manure, bat guano, alfalfa meal and kelp meal.  Organic fertilizers have soil microbes to help insure that more nutrients are available to your trees.  They contain mycorrhizal fungi– beneficial organisms which colonize the roots of most plant and become a natural extension of the root system.  These organisms serve to enhance the absorption of many nutrients as well as promoting drought resistance.  Organic fertilizers also contain humic acid that provides carbon for the microbes in order to help them propagate and do their work.

    Apple trees live for 60 years, plum trees can live for 40 years and pears for 75 years.  Take care of your trees and they’ll take care of you.  
 

Cut flowers

One of the greatest pleasures of gardening is to stroll out, bucket in hand, and cut richly colored, fragrant bouquets for your own home or to give to family or friends. Having a bad day? Walk outside and cut some flowers. Having a really bad day? Cut enough blooms for every room and snip a bunch to give away. The more blooms you cut, the more flowers will be produced by your plants. It’s economical to grow your own bouquets and because they’re fresh from your own garden they’ll be long lasting.

Flowers that lend themselves to cutting ( long stems and a long vase life) can be incorporated into any spot of the garden. if you really enjoy cut flowers indoors you may want to consider setting aside a small bed primarily for an old-fashioned cutting garden. A seldom used side yard would be an ideal place as long as it receives at least a half day of sun. Or how about that narrow bed along the fence you never know what to do with? if your never planted in the soil of your future cutting garden, amend the soil generously with organic matter or compost. Then water to germinate weed seeds and hoe them off. Don’t turn the soil again as you’ll bring up more weed seeds. Now you’re ready to plant.

Perennial flowers are among the most prized of all cut flowers. Many annuals are good as well as grasses or the straplike leaves of flax or cordyline. Prunings from the smoke tree, oakleaf hydrangea, grapes and Japanese maple look handsome in bouquets, too.

What can you still plant this time of year for cutting?

  • Roses- Many colors and fragrant. Attract butterfly larvae. Buds open best with sugar in the vase solution.
  • Foxglove- ‘Foxy’ blooms first year. Attracts hummingbirds.
  • Delphinium- vivid shades of blue. Pick spikes when 3/4 of the buds are open. Attracts both hummingbirds and butterflies.
  • Kangaroo paw- Low-water use perennial with unusual fuzzy tubular flowers of pink, orange, red or yellow.
  • Alstroemeria- showy flowers attract hummers and butterflies. To pick, pull stems gently to break cleanly away
  • from the rhizome.
  • Penstemon- Tubular flowers attract hummingbirds
  • Coreopsis- Double yellow flowers attract butterflies. Watch for flowers going to seed. remove spent flowers to prolong blooms.
  • Dahlia- Huge showy blooms, all colors
  • Gloriosa daisy- Bold gold, orange and mohogany daisies 5-7" across with a brown center. Pick when center is just starting to get fuzzy. Double forms have a shorter vase life.
  • Coneflowers- Pinkish or white flowers attract butterflies.
  • Snapdragons-Provide spiky accent that attracts butterflies. Pick off lower blooms as they wilt.
  • Zinnia- Pompons 1-5" across in a rainbow of colors. Pick when flowers open but before pollen shows. Buds don’t open well. Attracts butterflies and hummingbirds.

These are just a few of the many flowers that are good for cutting. Marigolds, cosmos,and lisianthus are other annuals to try. Perennials like coral bells, scabiosa, gerbera, mimulus, hosta, aster, yarrow and shasta daisy can be planted now,too.

To make cut flowers last, pick them early in the morning before heat stresses them. Flowers cut in the middle of the day will have difficulty absorbing enough water. Take a bucket of tepid water with you and place stems in it as you cut. Indoors, fill the kitchen sink with cool water and recut each stem underwater. The pull off any foliage or flowers that will be below the water level in the vase. You’ll be amazed just now long your flowers will last when you cut them under water. It’s worth the extra step. Now fill a clean vase with 3 parts lukewarm water mixed with 1 part lemon-lime soda, 1 teaspoon vinegar, and a crushed aspirin. Another recipe for floral food to add to the water is 2 teaspoons sugar, 2 tablespoons white vinegar , 1/2 teaspoon bleach in 1 qt water. The sugar helps buds open and last longer, the acid improves water flow in the stems and the bleach reduces the growth of bacteria and fungus. Change the water and recut the stems every few days to enjoy you bouquets for a week or maybe even two.


Tobacco bud worm and you

petunias

Geranium, penstemons and petunias sometimes become infested by budworms.  Foliage may be chewed, flowers may open tattered and full of holes or appear dried up and not open at all.   Tiny black droppings on the foliage are left behind. The striped caterpillar larval form of a native moth is a close relative of the corn ear worm, the tobacco or geranium budworm.  Moths lay eggs singly on host plants.  After hatching, the caterpillars chew fully opened flowers and occasionally dine on the leaves.  Spraying early on with organic BT is effective if done before the worms burrow inside the flower buds.  Remove dried up buds and flowers that may harbor the caterpillars and pull up and destroy ragged, end-of-season petunias that my have eggs sticking to the plant remains.  There may be two generations per year so preventative spraying with BT may protect established plants of geraniums or penstemon.  

Fuchsias

If your fuchsias aren’t blooming and the leaf tips look curled up and deformed, your plants are infested with fuchsia gall mite.  First discovered on the West Coast in 1980, it is often mistaken for a disease because of the way it distorts and twists fuchsia leaves and flower buds.  The damage caused can be debilitating.  The leaves curl and distort so much that normal photosynthesis is disrupted and weakened plants fail to bloom  Infested plants usually recover if further mite damage is controlled.  Prune off all distorted foliage and buds.  This may be the best method of control as petroleum oil or insecticidal sprays need to be made every 4-7 days to disrupt the mite life cycle.  Neem oil is not recommended for use on fuchsia flowers.

There are several gall mite-resistant fuchsias, both hanging and upright, that are very bit as showy as the traditional fuchsia varieties.  if you have been plagued by fuchsia mites, try growing one of these instead.   

Sustainable gardening tips

Blazing hot weather one day, foggy the next – our summer is turning out to be a particularly hot one.  The last two winters saw more than the usual freezing weather.   If weather tells us what clothes to wear, then climate tells us what clothes to buy.  Is all this proof of climate change?

Our planet has always experienced heating and cooling cycles.  A warm period from 300-1300 AD allowed the Vikings to fish and farm Greenland.  They were frozen out after 1300 when the Little Ice Age changed Greenland’s climate.  A 20 year drought starting in 1276 probably drove out the cliff dwellers in Utah, Arizona and New Mexico and the Mayan culture collapsed about the same time as an extended drought occurred in Mexico and Central America. 

People who cultivate plants have always taken climate change more seriously than most.  Many tomatoes stop setting fruit when daytime temps stay above 90 degrees.  Higher levels of carbon dioxide, a greenhouse gas, have been accelerating weed growth.  Our best defense as gardeners is to choose wisely what we plant in the garden and how we water. 

  • Start with smart design by evaluating how the space will be used and what plants will thrive with minimum of care and pruning.  Select the best trees and place them to shade the south side of the house to reduce  cooling costs.
  • Supplement the soil by making soil health a priority.
  • Examine your irrigation system and watering plan for efficiency and minimal waste.
  • Reduce, recycle and reuse whenever possible.  Simple ways include reusing plant containers and composting  organic waste and fall leaves.  

  We can all become stewards of the land by using these sustainable landscaping tips.

Garden coaching

Right plant-right place

Lately I’m getting a lot of requests for garden coaching. The economy probably has something to do with it. People want to know what plants will thrive in the different areas of their gardens or why something isn’t working. Who can afford to waste $ on the wrong plant in the wrong location?  When I make house calls there are several problems that seem to keep cropping up. Maybe one of these tips will help make your garden grow.

  Poor soil
If your soil looks like a sandy beach, amend it each time you plant something new with organic matter like compost or planing mix. Then be sure to mulch the surface to preserve precious moisture and soil structure and keep roots cool. Yearly, add organic mulch around existing planting keeping the immediate area around the crown of the plant open. If your native soil is just a little on the sandy side, you may not need to amend the soil much before planting but don’t forget that all important mulch. Crushed gravel or cobbles uses as a mulch holds in moisture the same way as bark or compost.

Those of you who live under redwoods may have the opposite problem- heavy clay soil, dense enough to make pottery. Surprisingly, adding organic matter to these soils solves this problem, too. The key is preserving the soil structure fterwards by mulching so it doesn’t pack down every time you water or during the winter rains.

 Not watering deep enough or watering too often
Sure there’s a period of time when you first plant something that you need to water more often until it’s established but even then watering every day is rarely needed. As a rule of thumb, water a new 1 gallon plant when the top 1/2 " – 1" is dry. A newly planted 5 gallon container will need watering when the top 1 1/2 – 2" is dry. A tree or large shrub planted from a 15 gallon container needs watering when the top 2-3" is dry. Hot days as well as shady locations vs sunny sites will all affect how long you can go between waterings.  When you do water apply enough to water the entire root zone deeply. If the water doesn’t penetrate 1-3 ft down, depending on the plant, it will suffer and even die. Drip systems are great if you have them set properly. Don’t waste water by having your timer set for 10 minutes every other day. If you have 1 gal/hour emitters that’s less than 3 cups of water each. How deep is that going to penetrate? Set your system so that each zone gets enough water for long enough to really count. This applies to established low-water use plants, too. They need a deep soak every 2-4 weeks.
One last tip on drip systems: make sure the emitter isn’t right next to the stem or trunk. Plants need water applied at the drip line where the feeder roots are located, not drowning the crown. Move it out as the plant grows and the dripline enlarges.

  Gopher baskets
If you need to plant in gopher baskets, make sure you eliminate the air pockets between the root ball and the side of the basket. Many times I’ve dug around a plant that is not doing well only to find big air spaces down the side of the basket or the planting hole where the soil was not properly tamped down. The roots on that side of the plant will die under these conditions and possibly the whole plants will be killed.

  Right plant-wrong place
Become familiar with the sun patterns of your property during the growing season- spring through fall. Many of us don’t have winter sun and lots of plants can adapt to this but they are more exacting when it come to light requirements during the growing season. It gets pretty hot around here so a spot with sun in the afternoon is fatal to a plant that is not a sun lover. For those optimists out there, those delicate rays that filter through your trees do not constitute a sunny garden. You have bright shade and there are lots of great plants that can provide color and texture in your shady garden. Make sure you follow tip #1 in both spots so your plant isn’t fighting crummy soil on top of everything else it has to handle.

Hopefully, these tips will help make your garden grow better.

The Mountain Gardener's Weblog